Quick Start
Start your AstraOps journey and set up your first deployment in just a few minutes.
1. Create an Account
Click Register to create your Astraops account. You can sign up using:
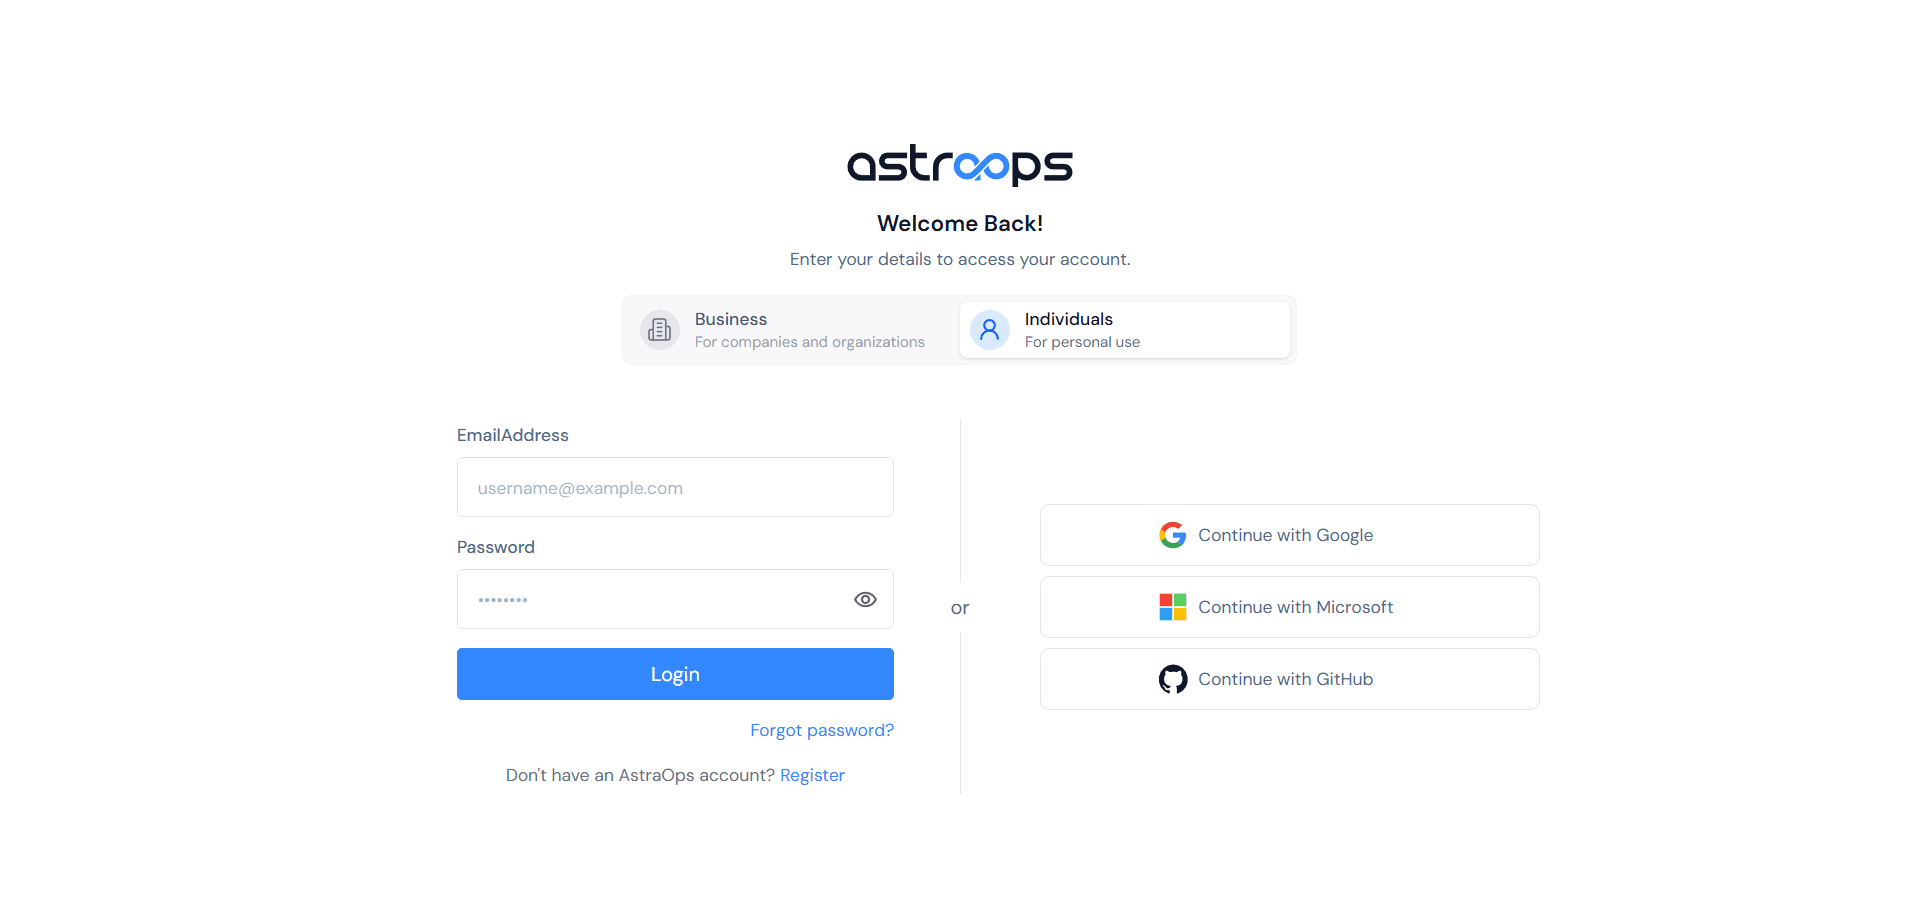
Sign up with your Google account
Traditional email & password
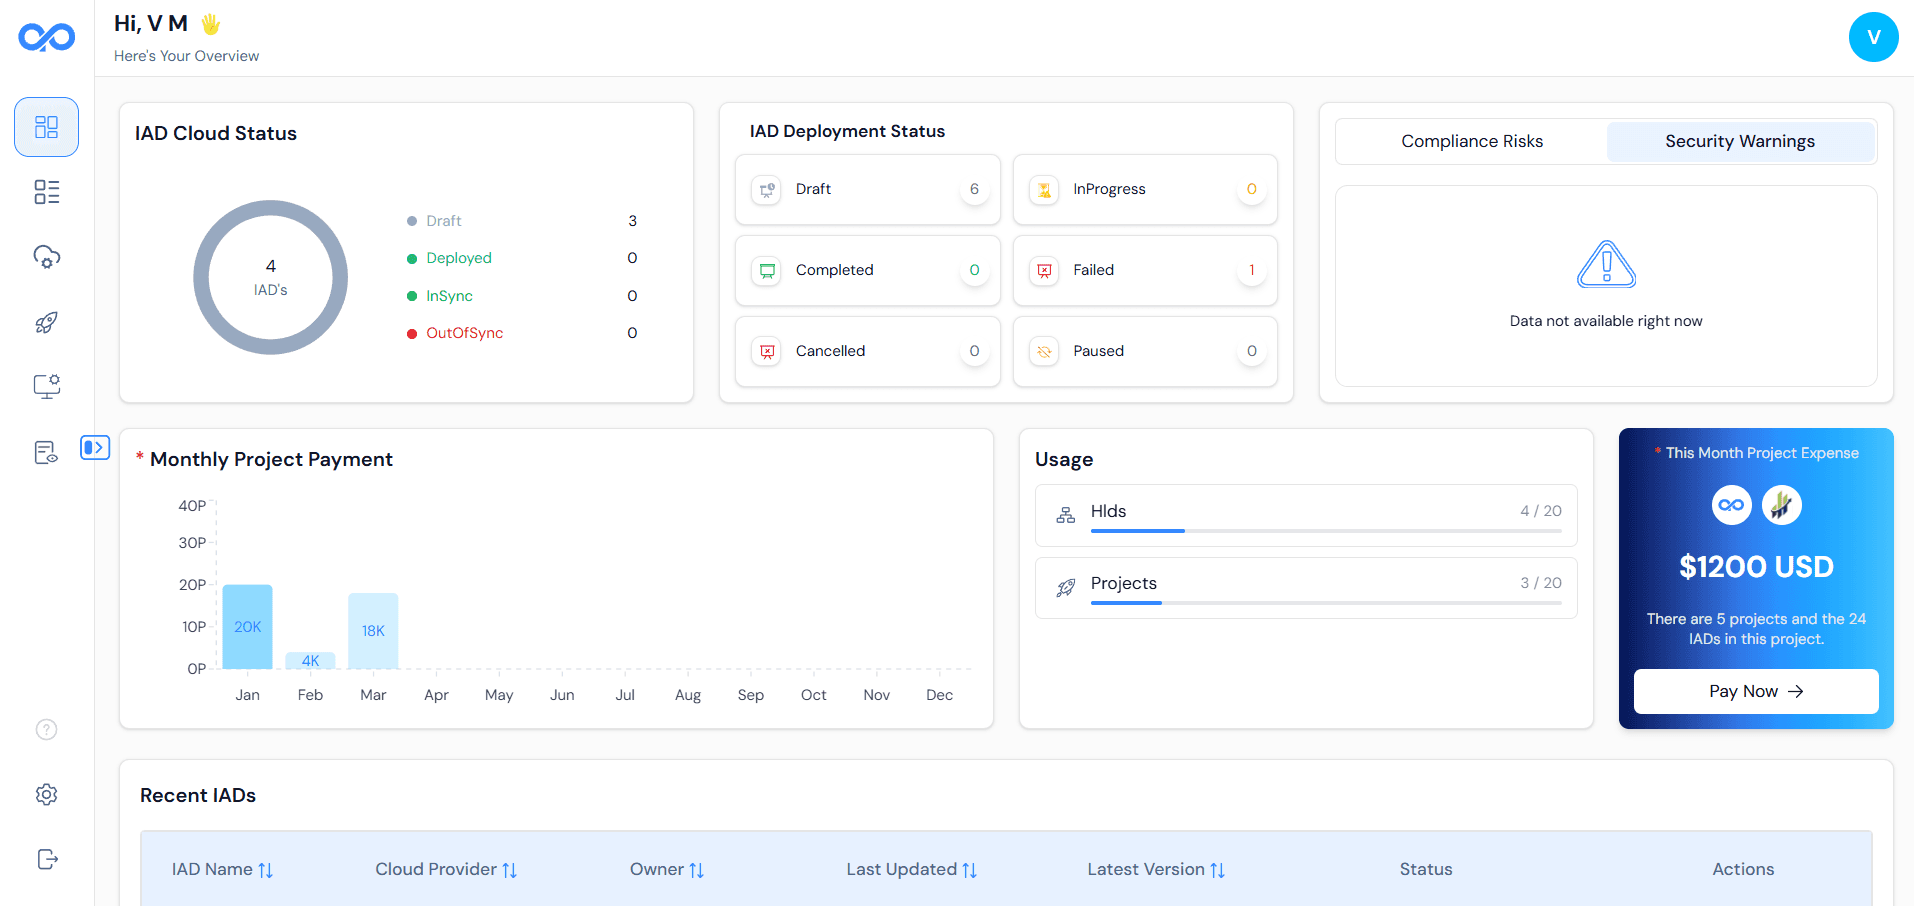
Welcome to your workspace!
Access your full workspace instantly, manage projects and link your cloud accounts with ease.
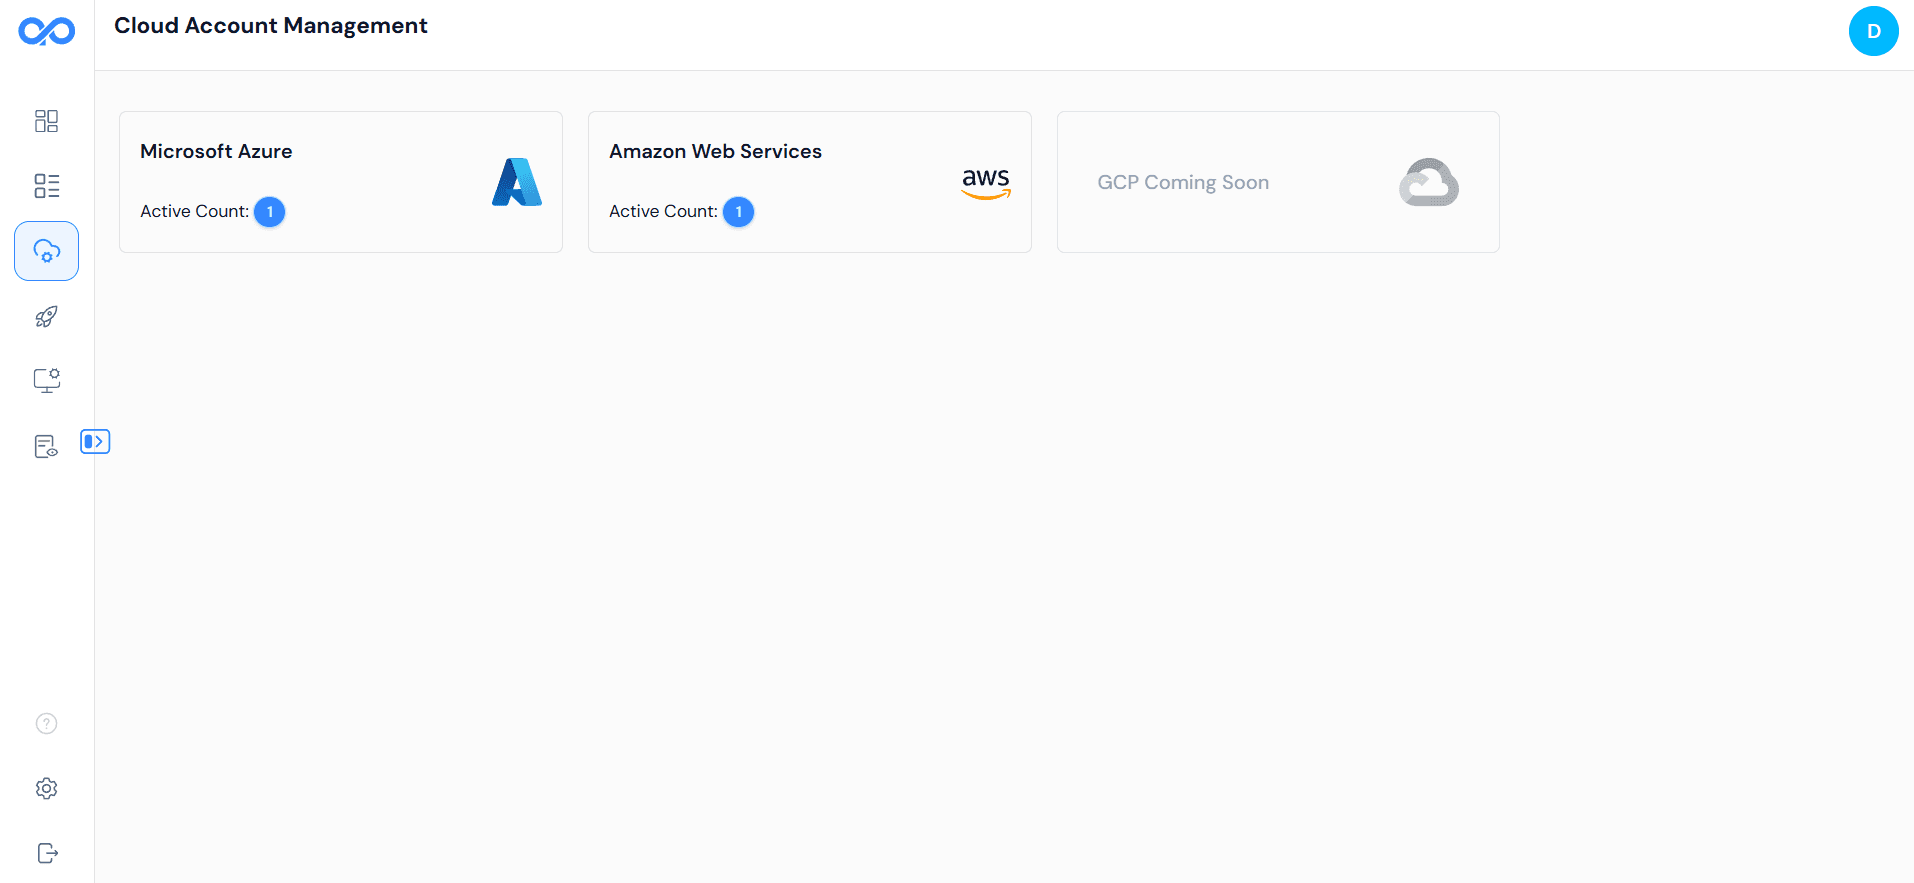
2. Add Cloud Accounts
Connect Your Cloud Power:
Jump into Cloud Account Management on the left panel, plug in your AWS or Azure accounts, and get ready to launch!
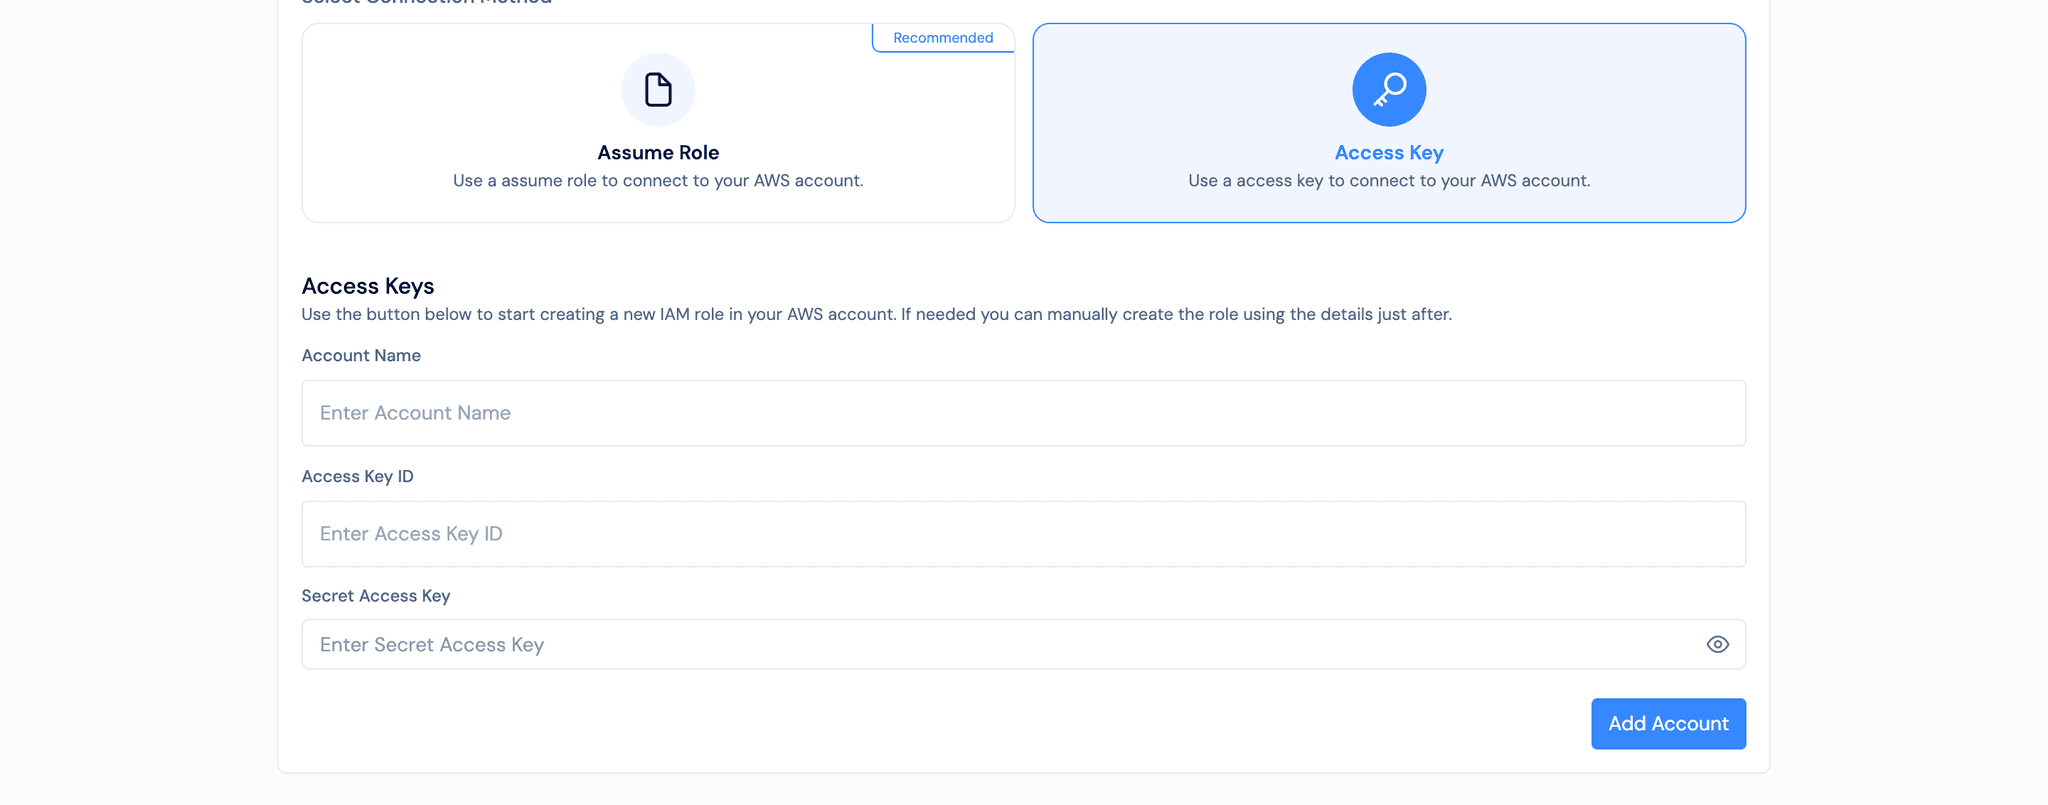
Connect to AWS : Set up secure access to your AWS account — choose the authentication method that works best for your environment.
Authentication Options
🔹 Option 1: Access Key
Use your Access Key ID and Secret Access Key to connect your AWS account quickly.
How to Connect
- Select Access Key on the form.
- Enter your Account Name, Access Key ID, and Secret Access Key.
- Click Add Account to complete setup.
AWS Authentication Form Configure AWS access using Access Key or Assumed Role credentials.
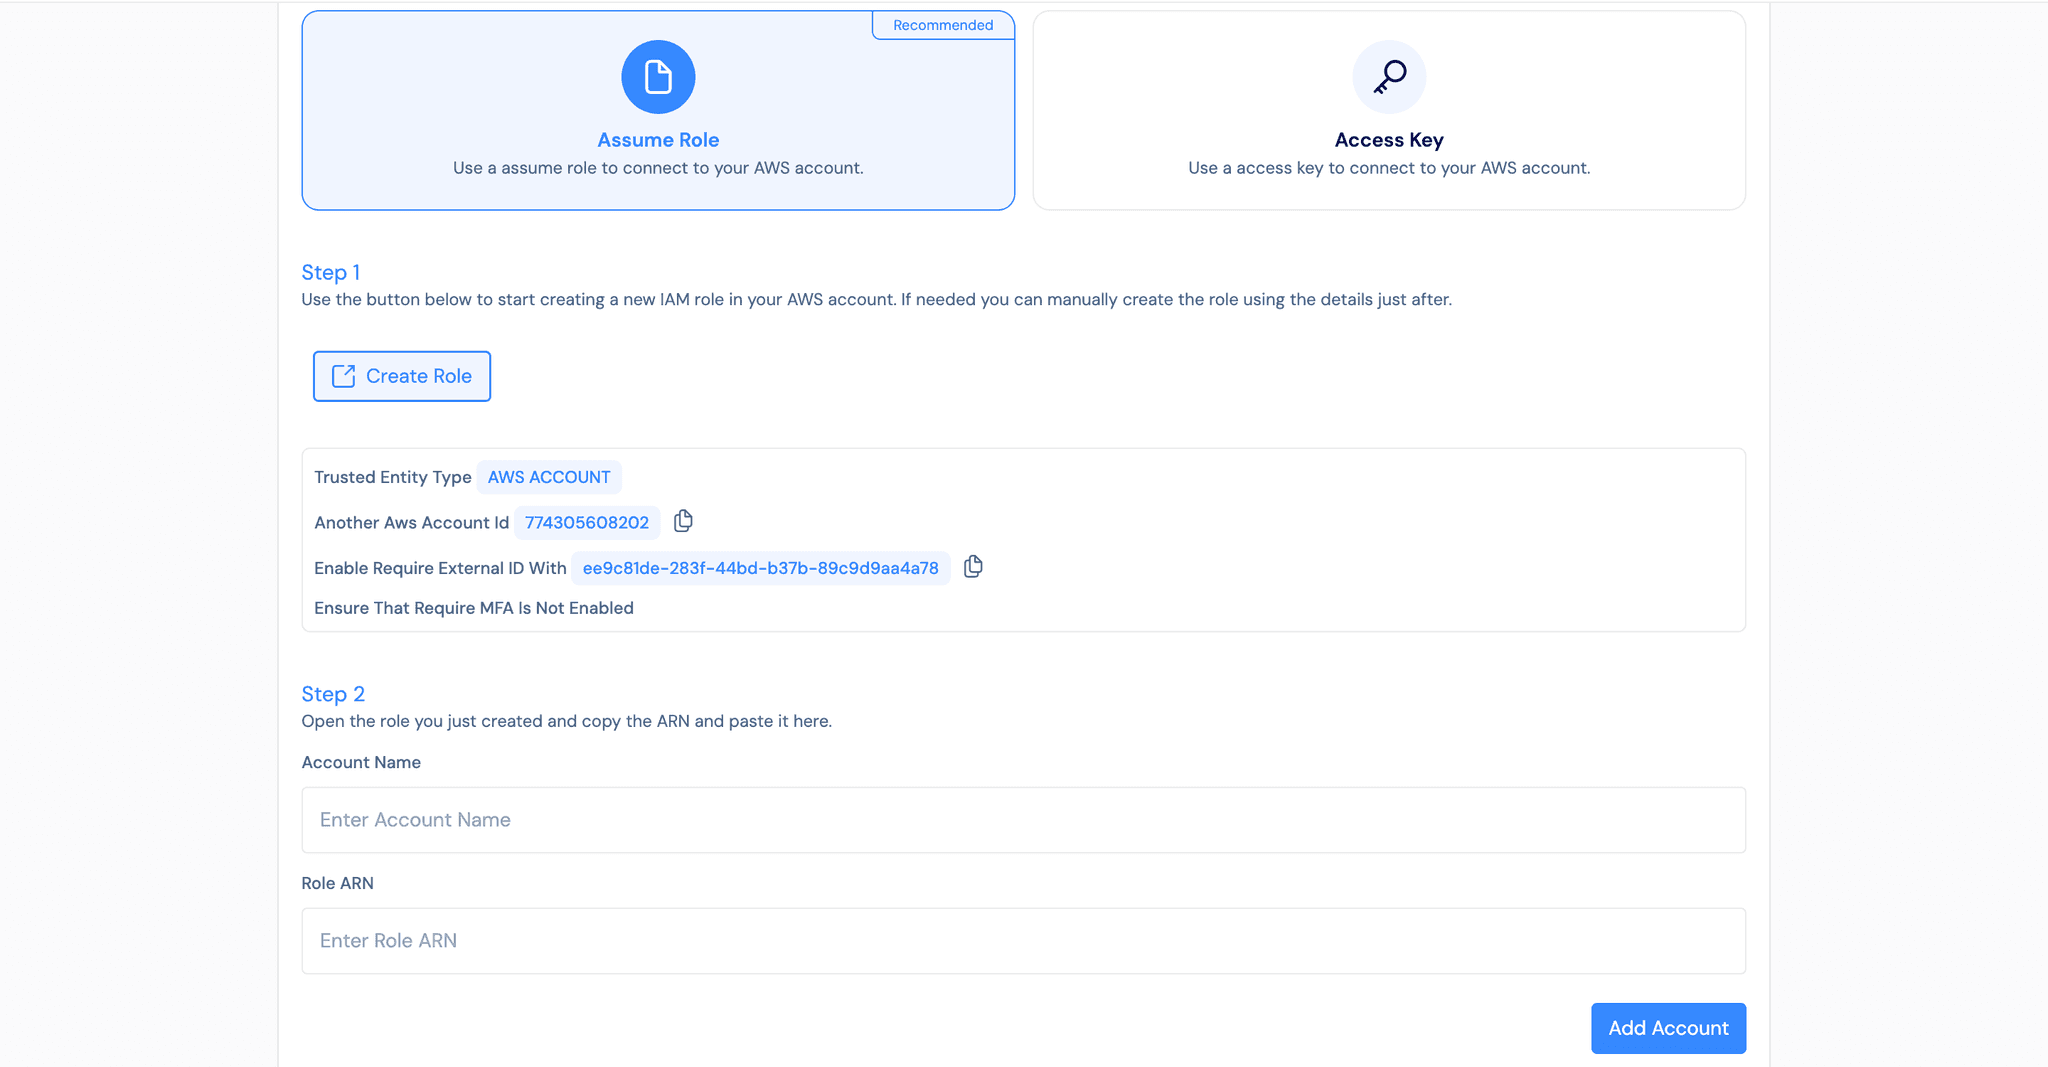
🔹 Option 2: Assumed Role (Recommended)
Connect using an Assumed Role for enhanced security with temporary credentials.
How to Connect
- Select Assumed Role on the form.
- Provide your Account Name and Role ARN.
- Click Add Account to save the connection.
AWS Assumed Role Configuration Set up AWS access using the more secure Assumed Role method with temporary credentials.
For improved security and easier rotation, always prefer Assumed Role authentication over static keys.
Connect to Azure : Set up secure access to your Azure account — choose the authentication method that works best for your environment.
Authentication Options
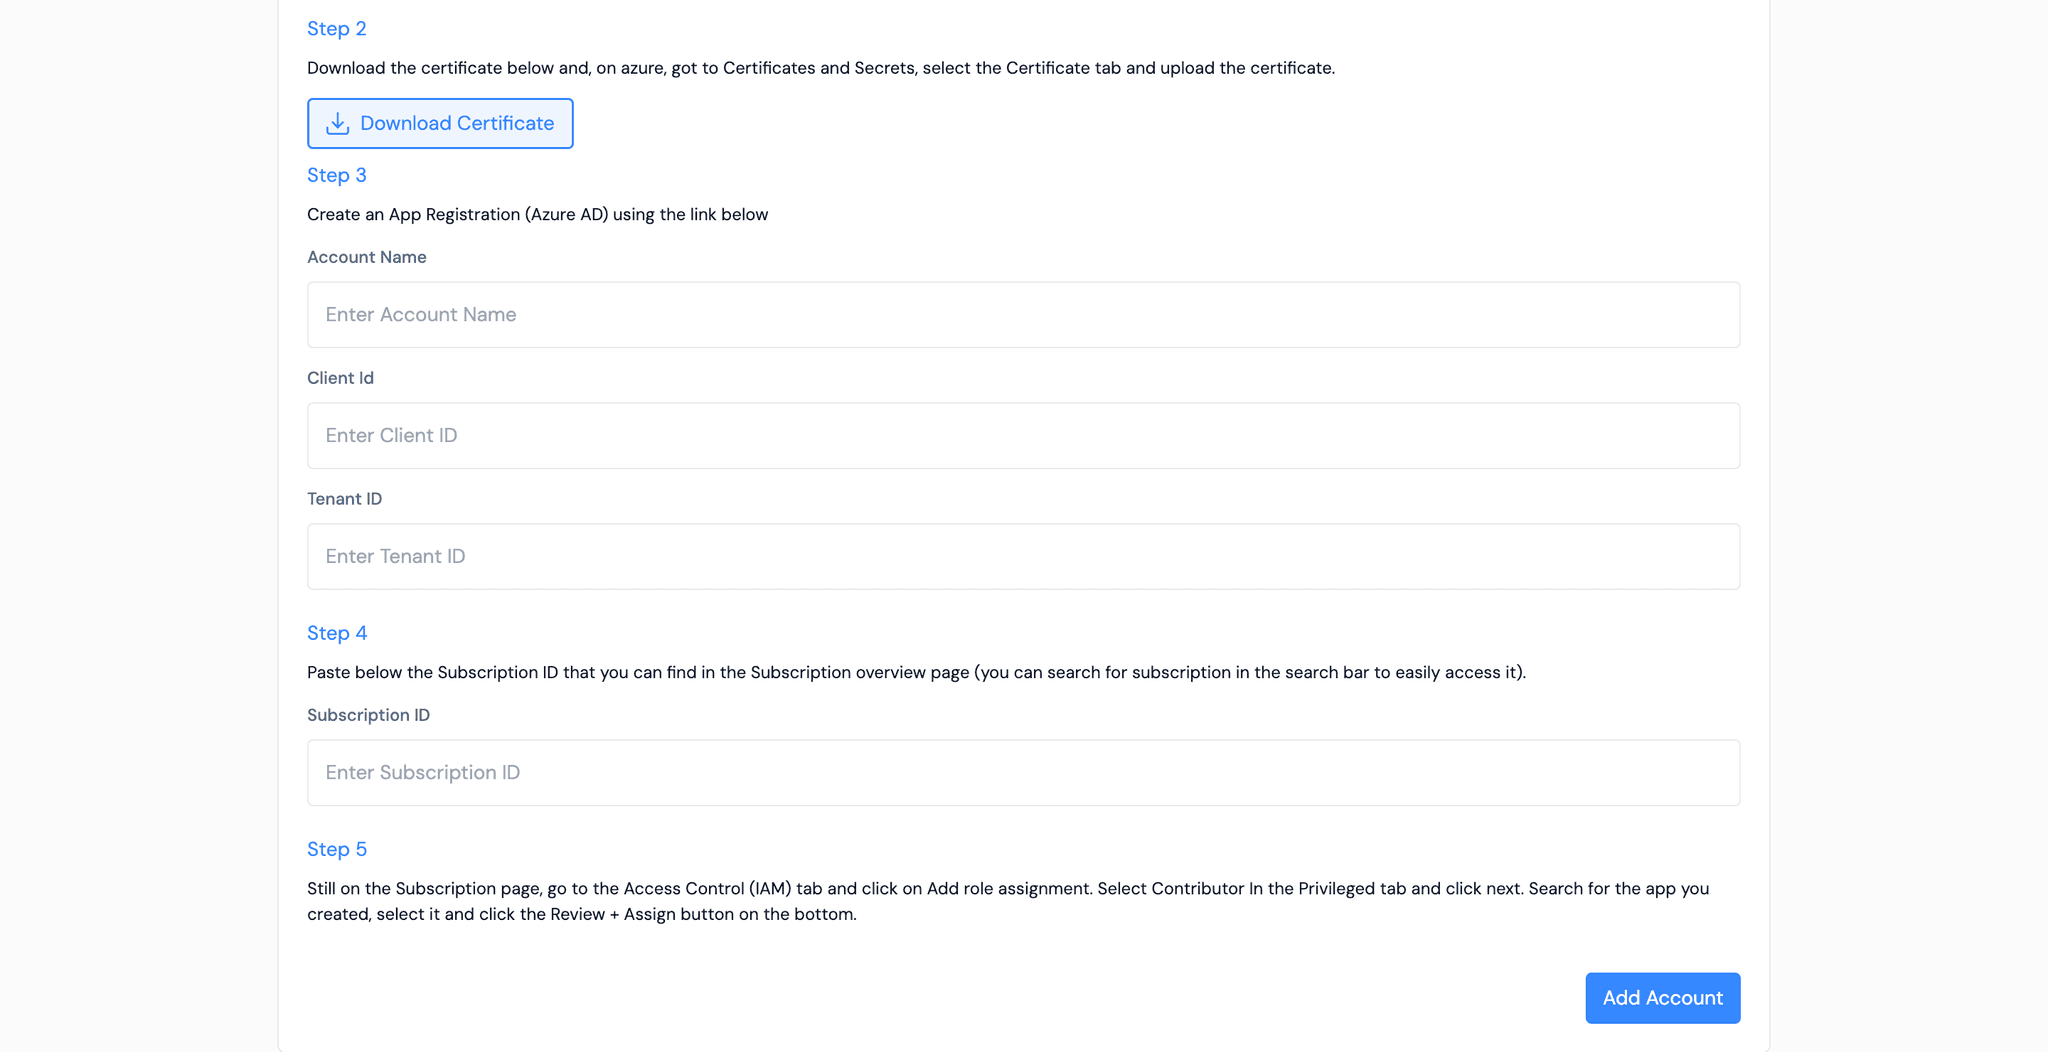
🔹 Option 1: Client Certificate
Use a Client Certificate to establish a secure, certificate-based connection with your Azure account. (Ideal for enhanced security and compliance environments.)
How to Connect
- Select Client Certificate on the form.
- Click Download Certificate and upload it to your Azure portal under Certificates and Secrets.
- Enter your Account Name, Client ID, Tenant ID, and Subscription ID.
- Click Add Account to complete setup.
Azure Client Certificate Authentication Configure Azure access using Client Certificate credentials.
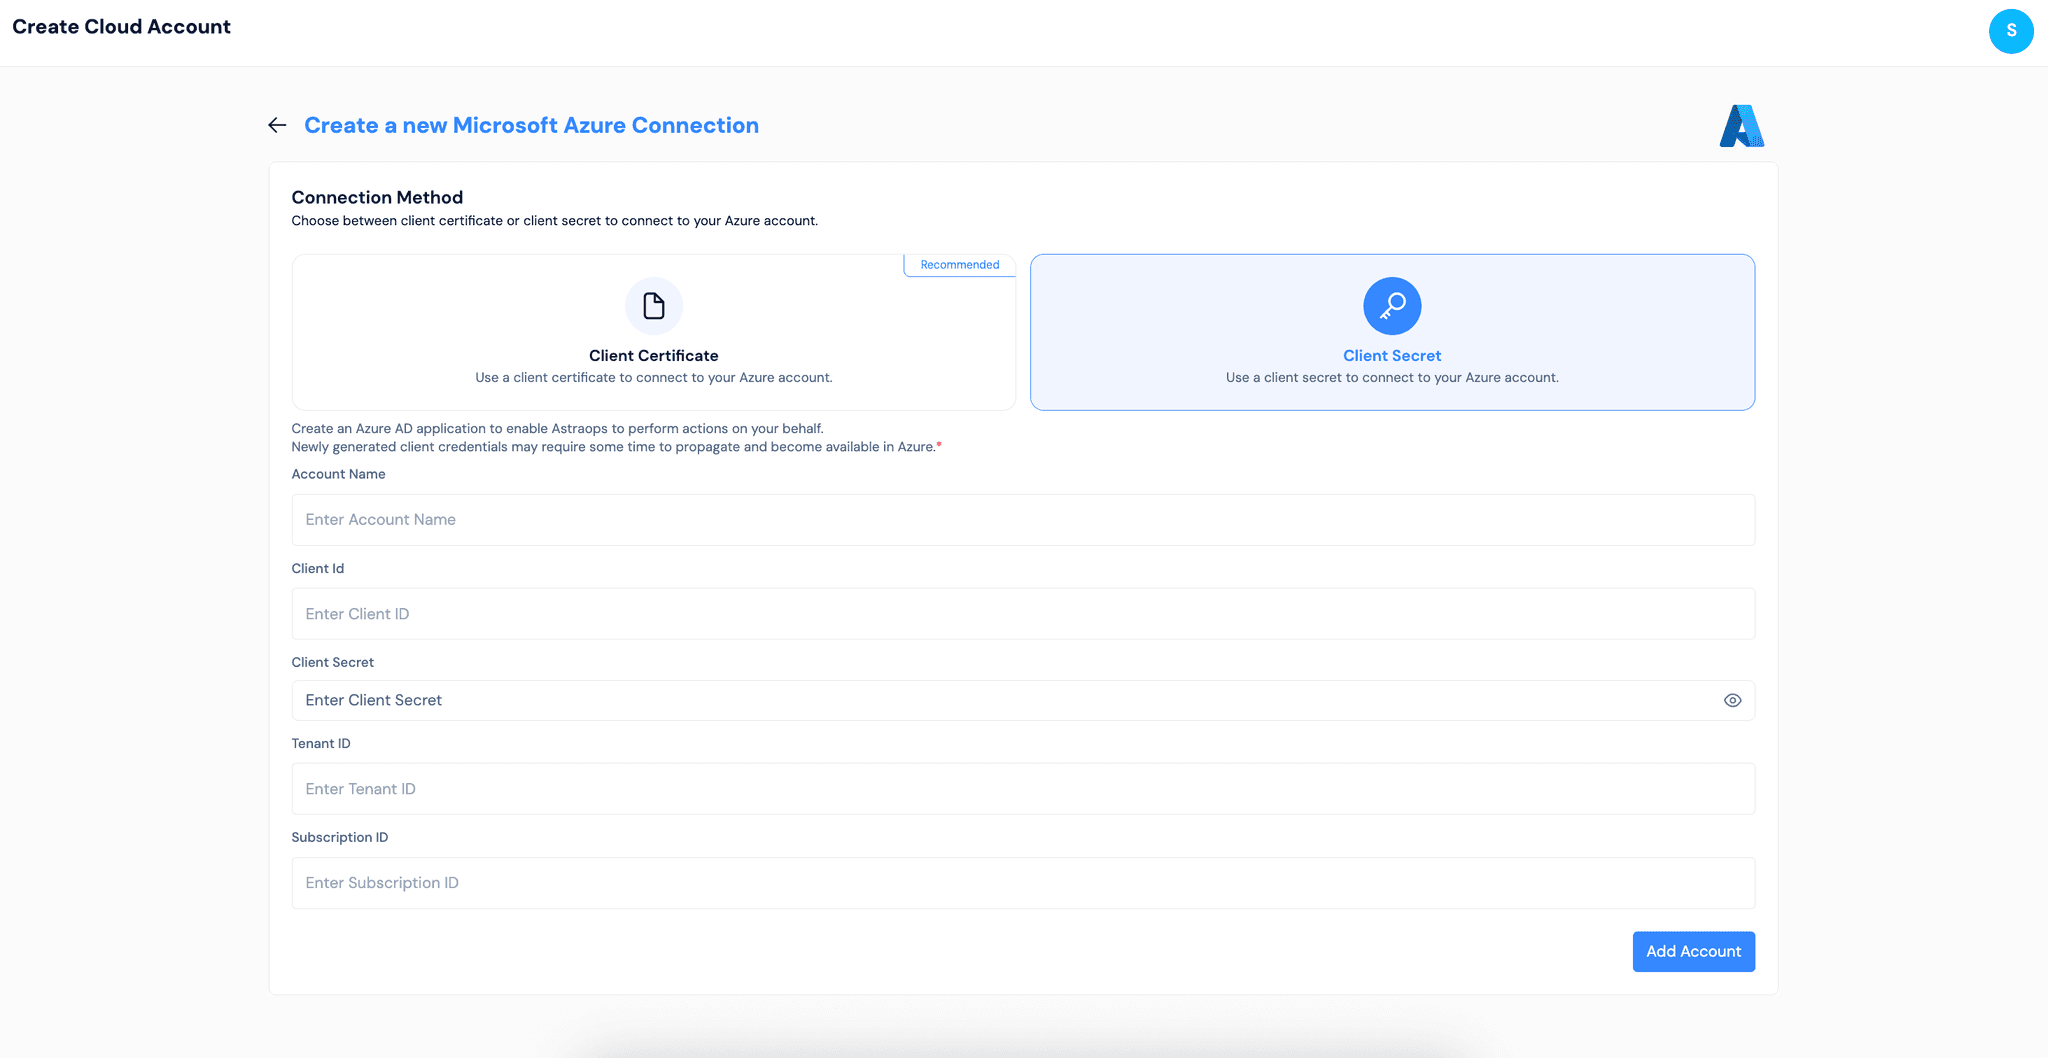
🔹 Option 2: Client Secret
Use a Client Secret to connect to your Azure account quickly and securely. (Recommended for faster onboarding and test environments.)
How to Connect
- Select Client Secret on the form.
- Enter your Account Name, Client ID, Tenant ID, Client Secret, and Subscription ID.
- Click Add Account to save and connect.
Azure Client Secret Authentication Set up Azure access using Client Secret credentials for secure authentication.
Use Client Certificate authentication for production environments requiring stronger security policies, and Client Secret for simpler, faster integrations.
3. Import Existing Resources
Bring your existing cloud infrastructure into AstraOps and manage everything from a single workspace.
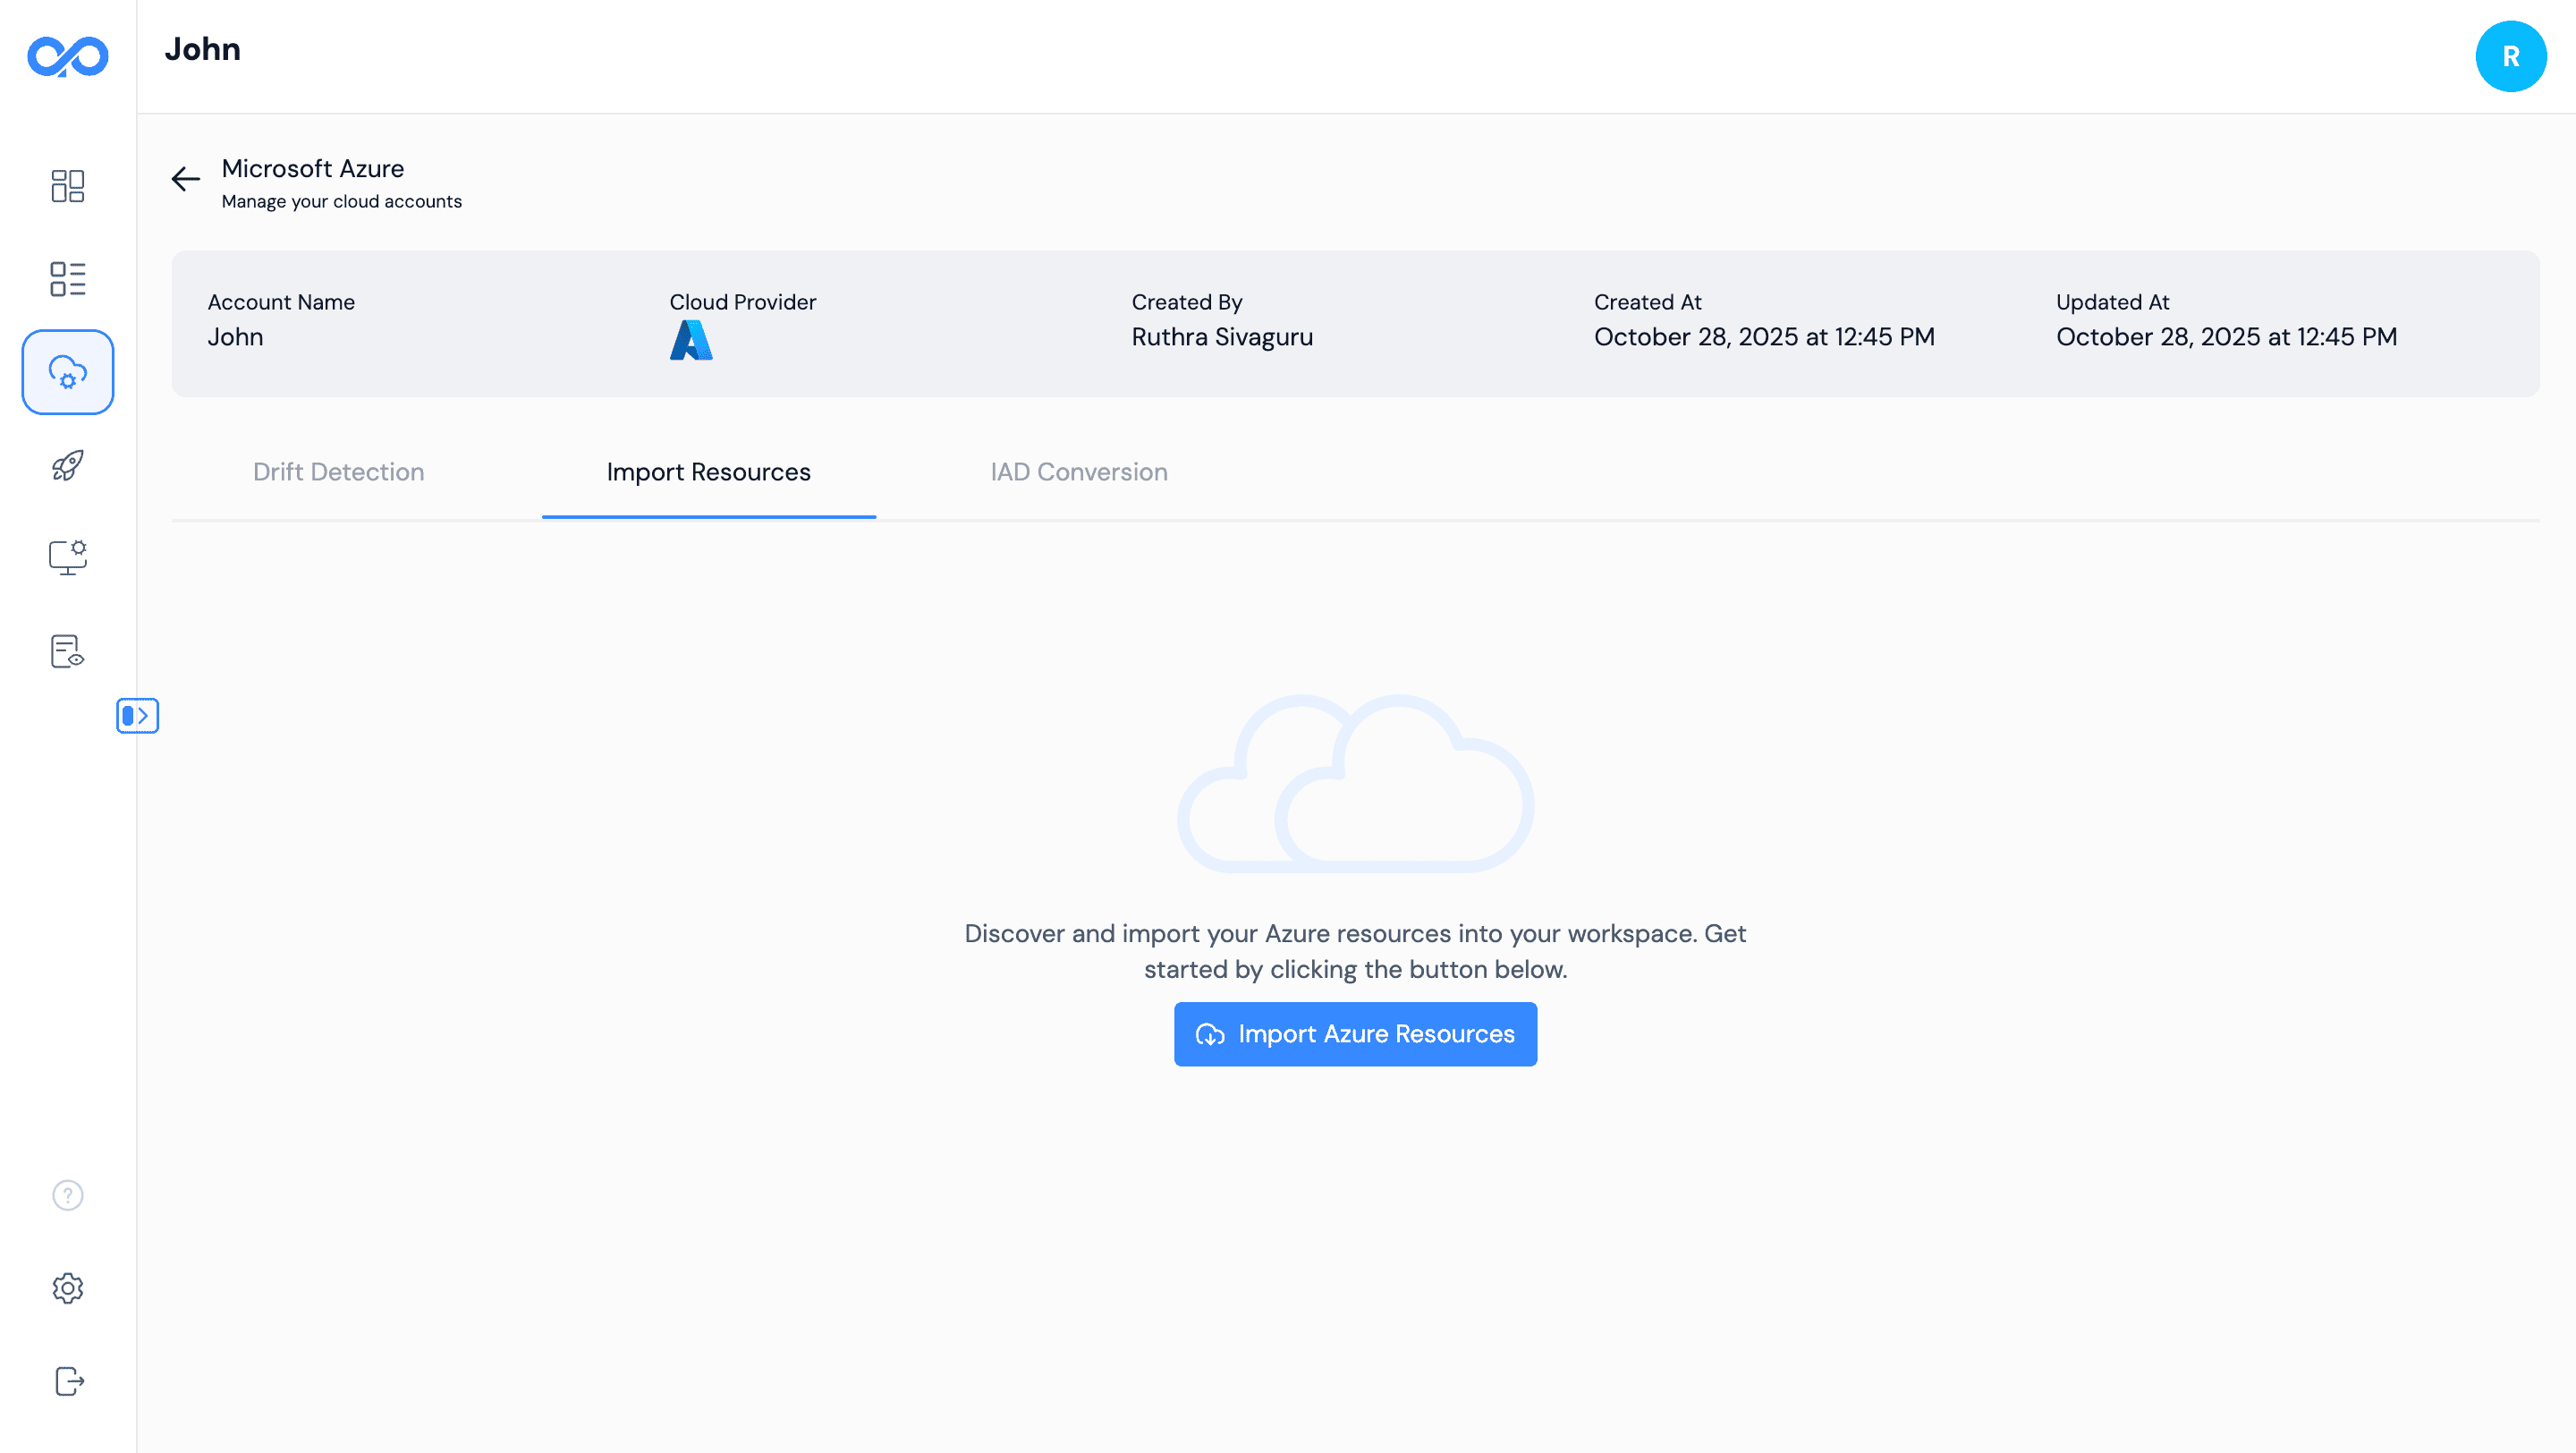
Import Process
- Go to the Import section in your AstraOps workspace.
- Select your connected cloud account (AWS or Azure).
- (AWS only) Choose a region to import resources from.
- Select the resources you want to import into your workspace.
- Click Import to begin — your progress will be shown in real time.
AWS users can select specific regions to import from, while Azure resources are imported automatically across all available regions.
What You Can Do:
Visualize
See your entire infrastructure in a clear architecture diagram
Configure
Modify settings and properties of imported resources
Deploy
Include imported resources in new deployment plans
Redesign
Optimize and restructure your cloud architecture
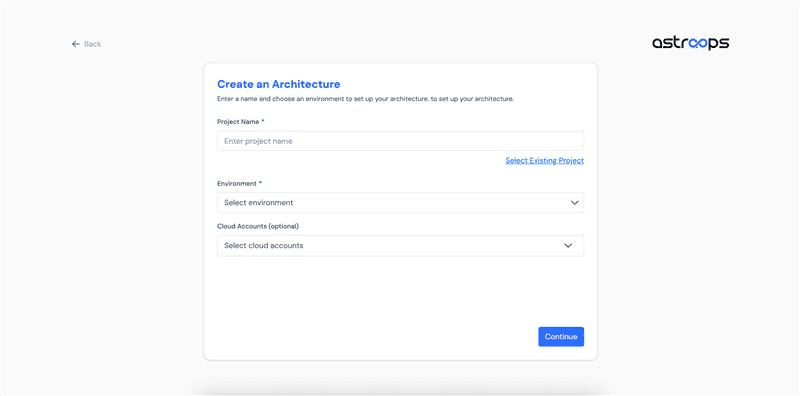
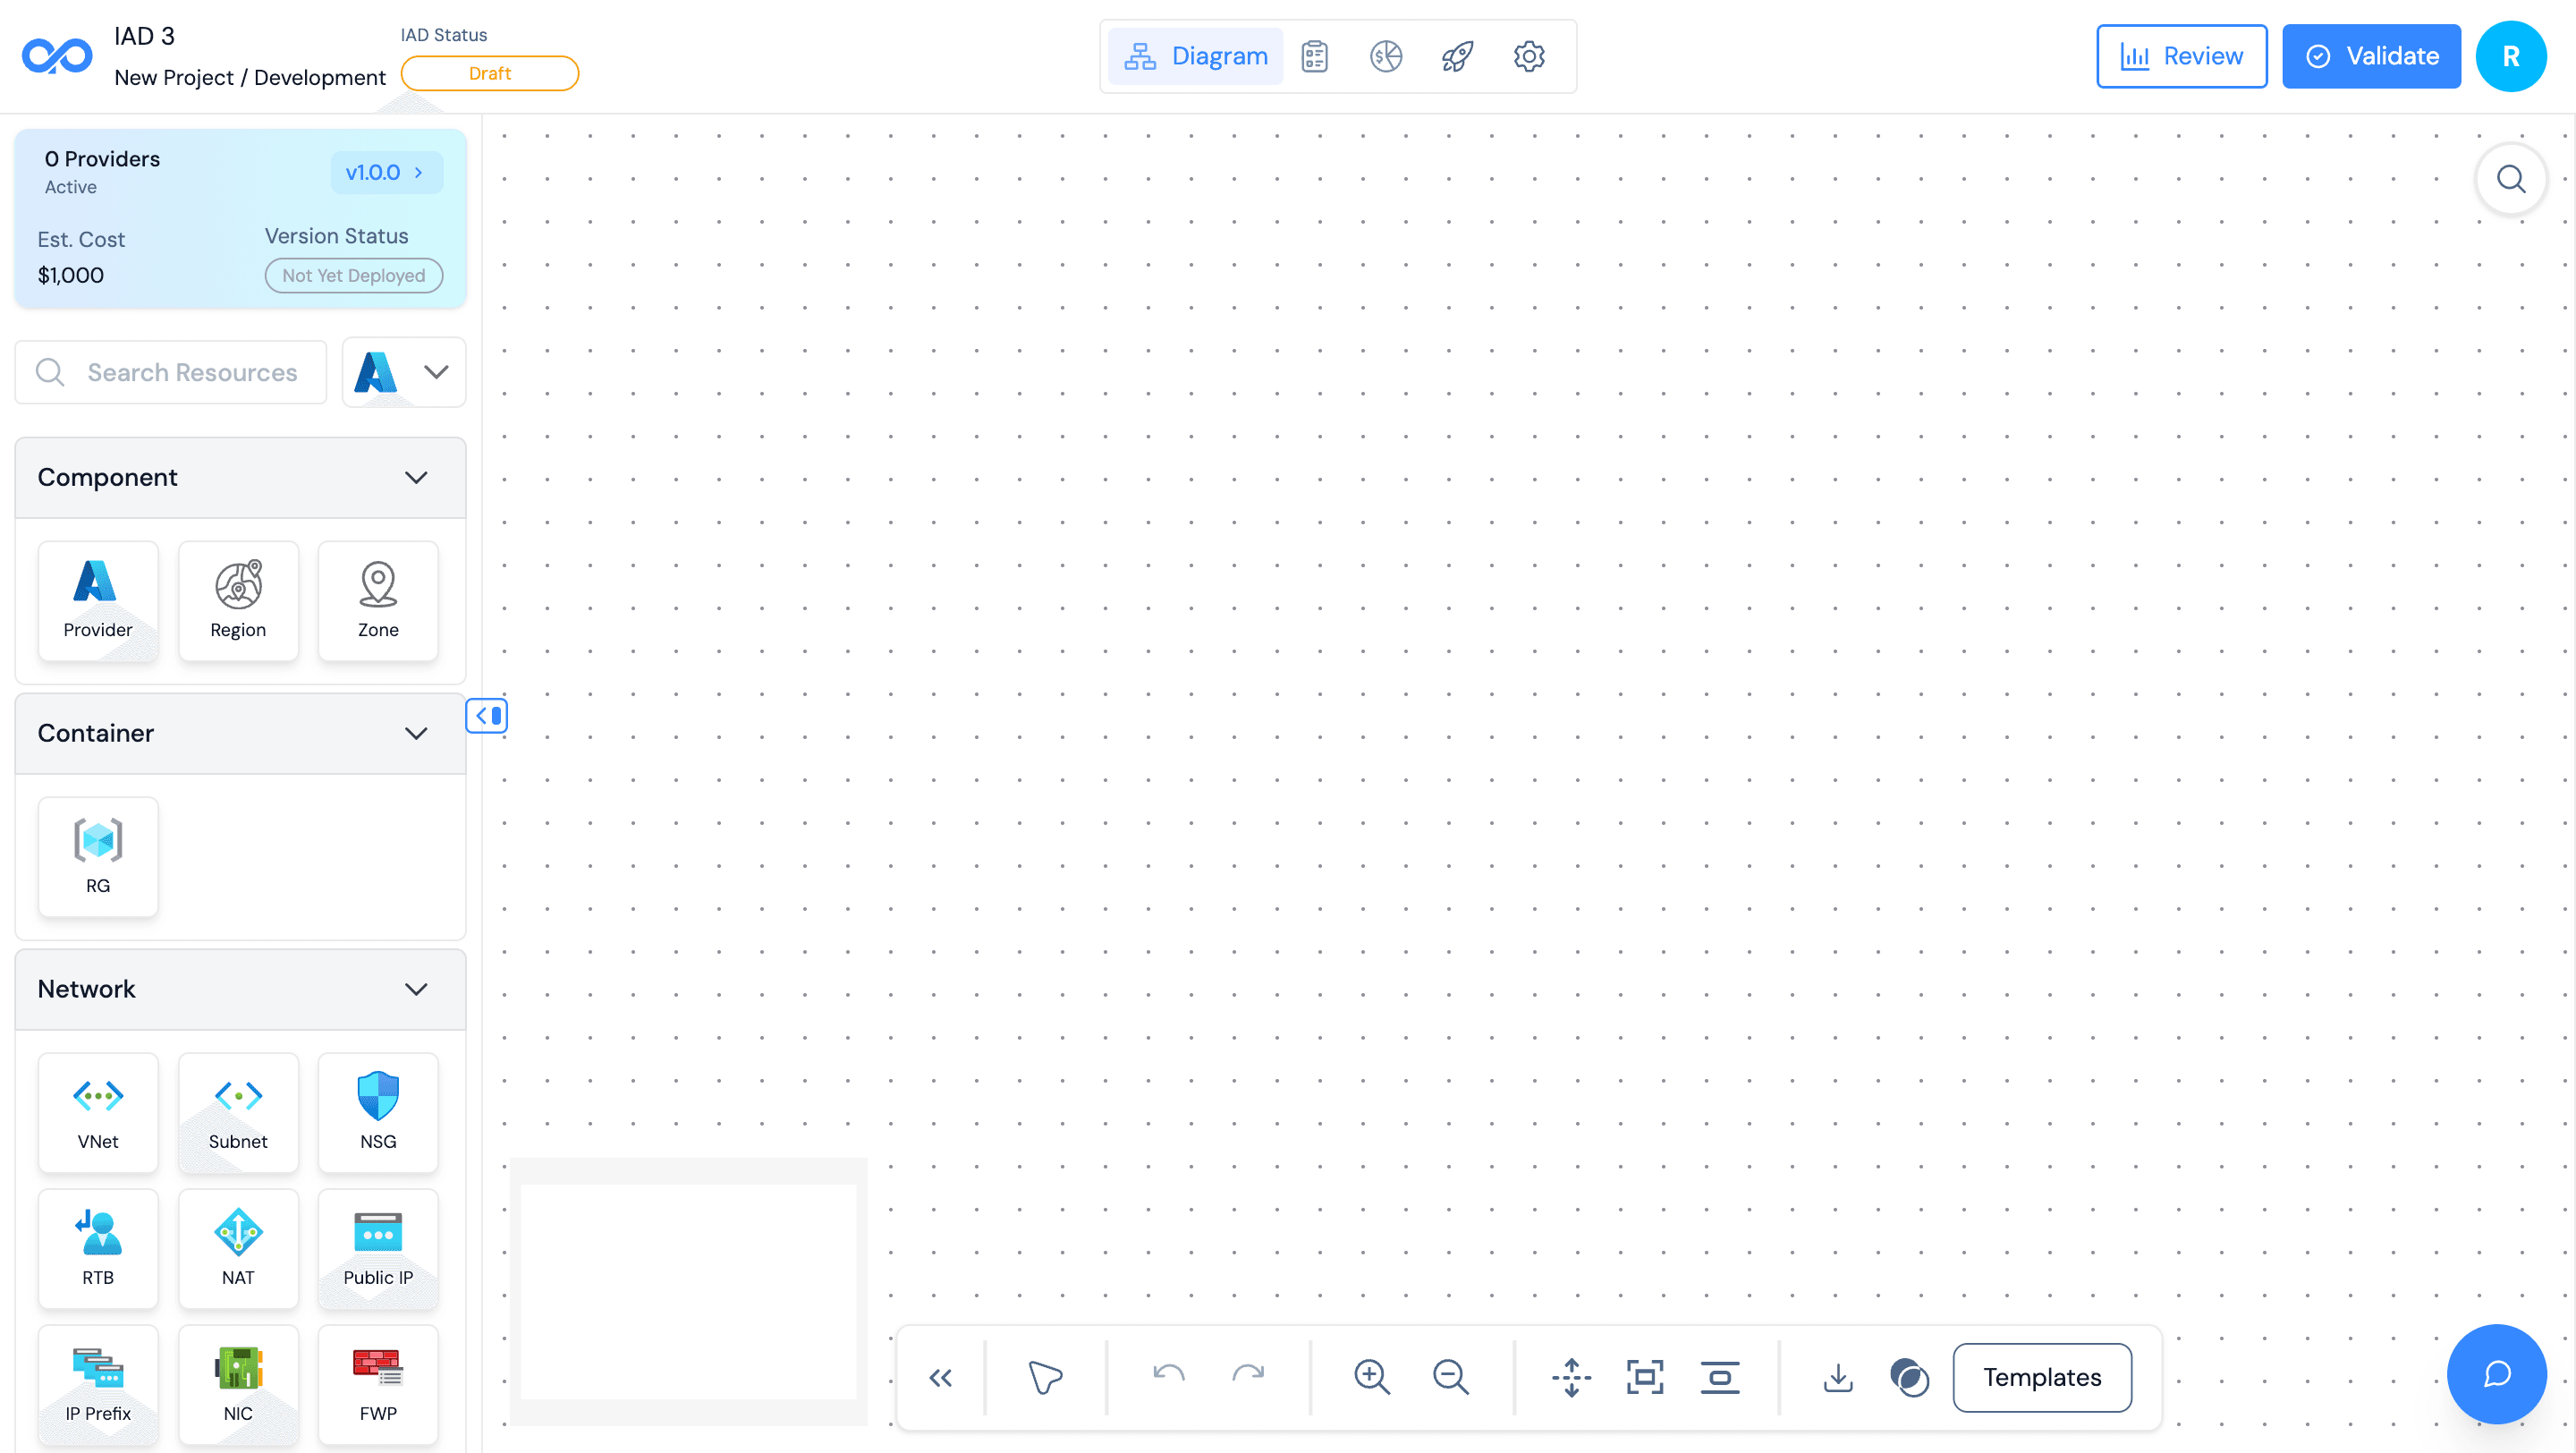
4. Create New Architecture
Start Building Visually
Go to IAD (Infrastructure as Diagram) and click "Create Architecture."
Set Up Your Project
- Set your Project Name.
- Select an Environment.
- Choose a Cloud Account.
- Drag. Drop. Design.
Use the intuitive canvas to build your architecture with:
- Smart Connections auto-linking resources
- Multi-Cloud Support for AWS & Azure
- Custom Configurations for every component
Components:
Category | Components |
|---|---|
Compute | EC2 |
Storage | S3, ECR, SQS, EBS |
Database | RDS |
Networking | VPC, Subnets, Load Balancer, Internet Gateway, Elastic IP, DB Subnet, Route Table, NAT Gateway, Target Group, Route 53 |
Security | Cognito, Security Groups, IAM Role, KMS, IAM Policy, IAM User, IAM Group, IAM Profile |
Other | SSM, SNS |
Category | Components |
|---|---|
Compute | Virtual Machines, SSH keys, Disk, Restore Point Collection |
Database | My SQL, Cosmos DB |
Network | Virtual Network, Subnet, Network Security Group, Route Table, NAT Gateway, Public IP, IP Prefix, Network Interface, Firewall Policy, Firewall, Private DNS Zone |
Security | M Identity, R Assignment, AD User, AD Group, R Definition |
Monitor & Others | Data Collection Endpoint, Workspace, Static Web App |
Start with a template and customize it to save time!
5. Click to Deployment
Ready to Launch?
Hit Deploy from the top toolbar — AstraOps auto-provisions your full infrastructure.
Pre-Deployment Checks
- Review configurations
- Validate dependencies
- Preview estimated cost
Deployment in Action
- Real-time progress and logs
- Live resource status
- Alerts for any issues
- Smart Parallel Deployment
When Complete
Your infrastructure is live! Access all deployed resources directly from the dashboard with a full summary view.
6. Drift Deduction
Stay in Sync. Always.
Drift Deduction keeps your architecture and live cloud in perfect alignment.
How It Works
- Real-time monitoring of resources and configurations
- Drift detection using CloudTrail, Event Grid, and more
- Smart alerts with change details and impact summaries
- Auto-sync mode to keep architecture and cloud consistent
Activation Steps
- Go to Account → Drift Detection
- Select region(s) to monitor
- Click Activate
- Toggle Enable Drift Deduction ON
- Set scan frequency (Real-time / Hourly / Daily)
Sync Modes
- In-Sync: Architecture → Cloud (auto-corrects changes)
- Out-of-Sync: Alerts only, no automatic updates
Drift Alerts Include
- What changed
- When it changed
- Impact summary
- One-click fix access
- Toggle Enable Drift Deduction to ON
- Set scan frequency (Real-time, Hourly, Daily)
- Configure alert preferences

Governance at Scale
Drift Deduction ensures your infrastructure stays compliant, secure, and aligned with your design!
Congratulations!
You've successfully set up Astraops and deployed your first cloud infrastructure!
Need Help?
Check our FAQ or contact support at support@astraops.com